

Blog

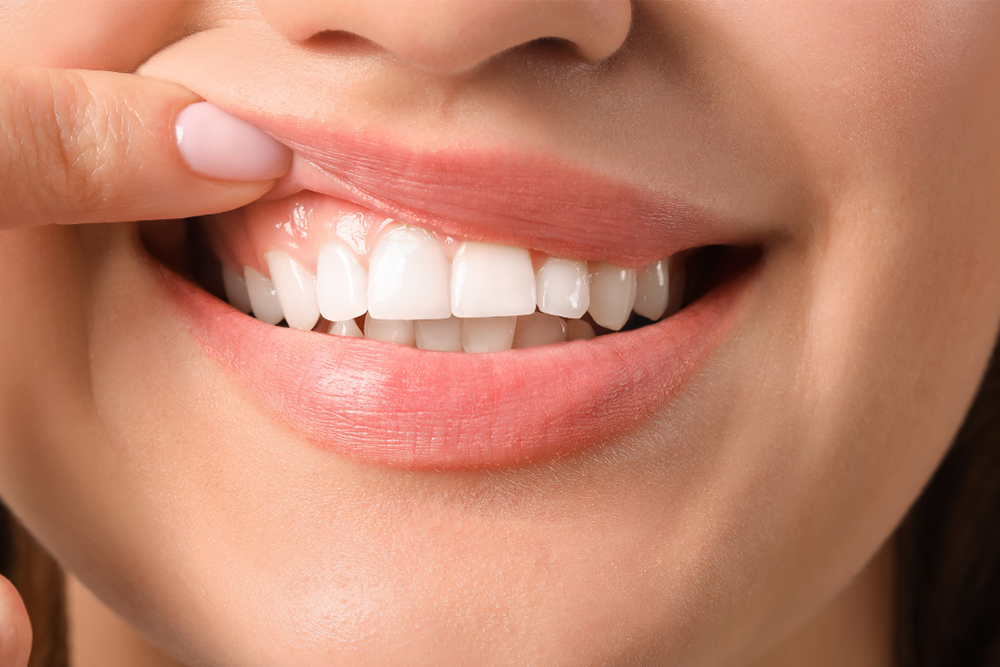
Feeling nervous about a dental appointment is more common than many people realize. Some patients experience mild anxiety before routine visits, while others may avoid dental care altogether because of fear, previous experiences, or concerns about treatment. Sometimes the hardest part is not the treatment itself, it’s picking up the phone, booking the appointment, and walking through the door.
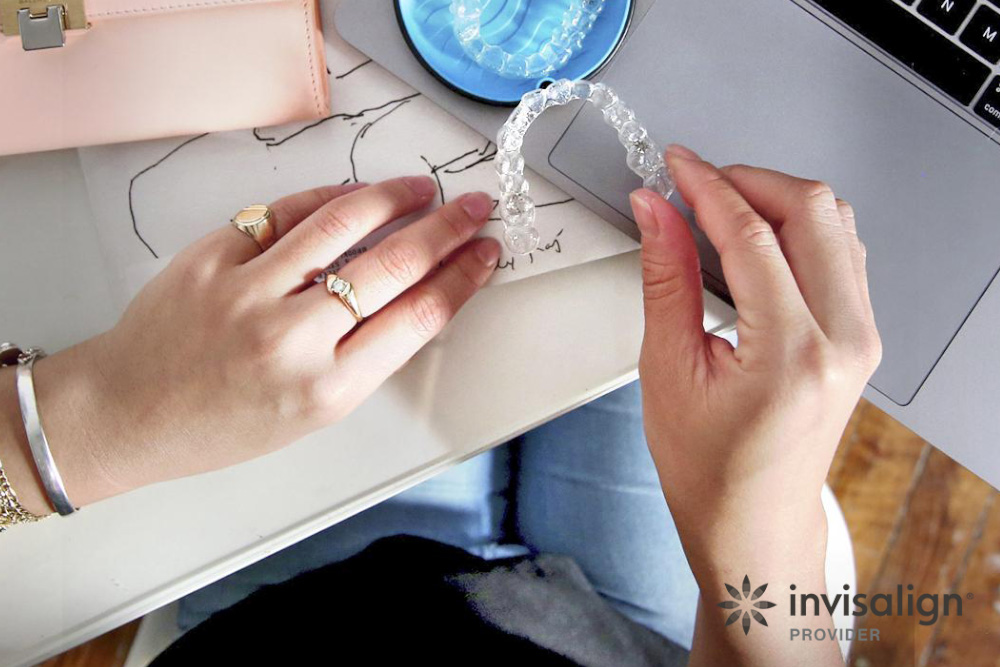
For patients who feel uncomfortable visiting the dentist, discussing available comfort options may help make dental care feel more manageable. Sedation dentistry is one approach that may be considered for appropriate patients who experience dental anxiety or nervousness during appointments.
If you have delayed treatment because of anxiety or worry, understanding what options may be available can help you feel more informed before scheduling a consultation. Patients interested in learning more about sedation dentistry in Whitby can discuss their concerns and questions with the Downtown Whitby Dentistry team.
Sedation dentistry refers to techniques and approaches that may help patients feel more relaxed during dental treatment. Depending on the patient, the procedure being performed, and other individual considerations, different comfort options may be discussed.
The goal of sedation dentistry is not necessarily the same for every patient. Some individuals may simply want help feeling calmer during treatment, while others may have more significant anxiety that makes dental appointments difficult.
Because every patient is different, recommendations should always be based on an assessment of medical history, dental needs, and personal comfort levels. A consultation provides an opportunity to discuss concerns and determine whether sedation could be worth asking about.
Many patients are surprised to learn that anxiety about dental care is common. Discussing those concerns openly with a dental provider is often the first step toward finding an approach that helps patients feel more comfortable.
There is no single reason someone feels nervous at the dentist. For one person it might be the sound of the tools. For another, it might be a past experience or the fear of not feeling in control.
Some individuals experience anxiety about dental procedures, while others feel nervous about sounds, sensations, injections, or spending extended periods in the dental chair. In other situations, previous experiences may contribute to concerns about future treatment.
Common reasons patients ask about sedation options include:
While these concerns can be challenging, they are also important to discuss with a dental professional. Understanding a patient's specific concerns helps guide conversations about available comfort options and treatment planning.
For many people, simply knowing that comfort-focused approaches may be available can make it easier to move forward with needed dental care.
The comfort options available for nervous patients vary depending on the clinic, the treatment being performed, and the patient's individual circumstances.
Rather than assuming one approach is appropriate for everyone, dentists evaluate factors such as overall health, anxiety levels, treatment complexity, and medical history before making recommendations.
Some patients may benefit from strategies focused on communication, reassurance, and treatment pacing. Others may wish to discuss sedation options that provide additional support during dental procedures.
Because every patient's needs are unique, the most appropriate approach should always be determined through a consultation rather than generalized online information.
Patients who are considering sedation dentistry often find it helpful to prepare questions before their appointment so they can better understand what options may be available and whether those options align with their comfort goals.
One option that some patients ask about is IV sedation dentistry.
IV sedation involves medication administered through an intravenous line and may be discussed for certain patients and procedures. The suitability of IV sedation depends on a variety of factors, including medical history, treatment requirements, and professional assessment.
Compared with other comfort approaches, IV sedation may provide a different level of support for patients who experience significant anxiety regarding dental treatment.
However, IV sedation is not automatically appropriate for every patient or every procedure. Recommendations should always be based on individual circumstances and a thorough consultation.
Patients interested in learning more about IV sedation dentistry can discuss the process, expectations, and suitability of treatment with their dental provider. Call us any time with your questions and we’ll walk you through the details.
Because sedation options vary from patient to patient, professional guidance is the best way to determine what may be appropriate for a specific situation.
If you are considering sedation dentistry, preparing a few questions before your consultation can help you feel more informed and comfortable.
Patients may wish to ask:
Asking questions allows patients to better understand the available options and participate in treatment decisions. An appointment also provides an opportunity to discuss expectations and address any concerns before treatment begins.
For some patients, anxiety becomes a barrier to receiving regular dental care. Missed appointments or delayed treatment may lead to concerns becoming more difficult to address over time.
While sedation dentistry is not the right solution for every patient, discussing comfort options may help some individuals feel more confident about attending appointments and receiving recommended care.
Many patients find that having an open conversation about anxiety is an important first step. By understanding a patient's concerns, a dental team can work to create a more comfortable experience and discuss options during an exam.
The goal is not simply to complete treatment, but to help patients feel supported throughout the process.
If dental anxiety has made it difficult to schedule appointments or complete recommended treatment, you are not alone. Many patients experience nervousness about dental care, and discussing those concerns with a dental professional can help identify possible solutions.
Whether you have questions about comfort-focused approaches, sedation dentistry in Whitby, or IV sedation dentistry, a conversation with the dentist can help you better understand the options that may be available.
To learn more, call us or request an appointment to discuss your concerns and treatment goals.
The best way to determine whether sedation dentistry may be appropriate is through a conversation with the dentist. A dental professional can review your medical history, treatment needs, and concerns before discussing available options.
Not necessarily. The suitability of IV sedation depends on several factors, including the patient, the procedure being performed, and professional assessment.
Yes. Patients are encouraged to discuss concerns about dental anxiety and comfort options before moving forward with treatment.
Be as open as possible about your concerns, previous experiences, and any situations that make you uncomfortable. This information can help guide discussions about comfort-focused approaches.
Patients can call our downtown Whitby dental clinic or request an appointment through the Contact Us page to schedule a dental assessment and discuss available options.


OUR HOURS
| Monday | 9:00 AM to 5:00 PM |
| Tuesday | 9:00 AM to 5:00 PM |
| Wednesday | 9:00 AM to 3:00 PM |
| Thursday | 9:00 AM to 5:00 PM |
| Friday | 9:00 AM to 1:00 PM (By Appointment) |
| Saturday | CLOSED |
| Sunday | CLOSED |
130 Byron St. North
Whitby, ON, L1N 4M9
905-430-7045
info@dwdentistry.ca
Request Appointment
Share or Read a Google Review

© 2026 Downtown Whitby Dentistry| All Rights Reserved - Website design by Vitamin D - Marketing & Design
